Painting your walls is one of the most cost-effective ways to refresh your home. However, for a smooth, long-lasting finish, cleaning the walls beforehand is essential. Dirt, grease, dust, and stains can prevent paint from adhering properly, causing peeling or uneven coverage. In this guide, we’ll walk you through everything you need to know to prepare your walls for painting.
Key Reasons to Clean Walls Before Painting
Many homeowners skip wall cleaning, thinking it’s unnecessary. However, preparing walls properly is essential for a professional-looking, long-lasting paint job. Even if walls appear clean, dust, grease, and invisible residues can interfere with paint adhesion and finish. Understanding why this step matters helps ensure your hard work pays off.
Reasons to Clean Walls Before Painting
- Better Paint Adhesion
- Paint adheres much more effectively to a clean surface.
- Dust, grime, or oily residues can prevent paint from sticking, leading to peeling or flaking over time.
- A properly cleaned wall ensures each coat bonds fully, reducing the need for touch-ups.
- Even Finish
- Dirt or sticky spots can cause paint to streak, clump, or appear uneven.
- Cleaning the walls removes these inconsistencies, creating a smooth canvas for paint.
- This step is especially important for light-colored or glossy finishes, where imperfections show more easily.
- Long-Lasting Results
- Walls that are properly cleaned and prepped hold paint longer.
- Paint applied over a dirty surface can chip or peel prematurely.
- Cleaning before painting extends the life of your paint job and protects your investment.
- Prevents Mold and Mildew
- Moisture, dust, and grime can create the perfect environment for mold growth.
- Cleaning walls helps remove spores and reduces the risk of mold and mildew forming under the paint.
- This is particularly important in bathrooms, kitchens, and basements.
- Reveals Damage or Flaws
- Cleaning helps highlight dents, cracks, or holes that need repair before painting.
- Fixing imperfections beforehand ensures a smoother, more professional finish.
Pro Tip: Even walls that look clean may have invisible oils, dust, or residues from cooking, smoking, or pets. Wiping them down before painting significantly improves paint quality and longevity.
Gather Your Cleaning Supplies
Having the right tools makes the process faster and more effective.
Essential Supplies:
- Bucket and warm water
- Mild detergent or dish soap
- Sponge or soft cloths
- Microfiber towels for drying
- TSP (trisodium phosphate) for stubborn stains or grease
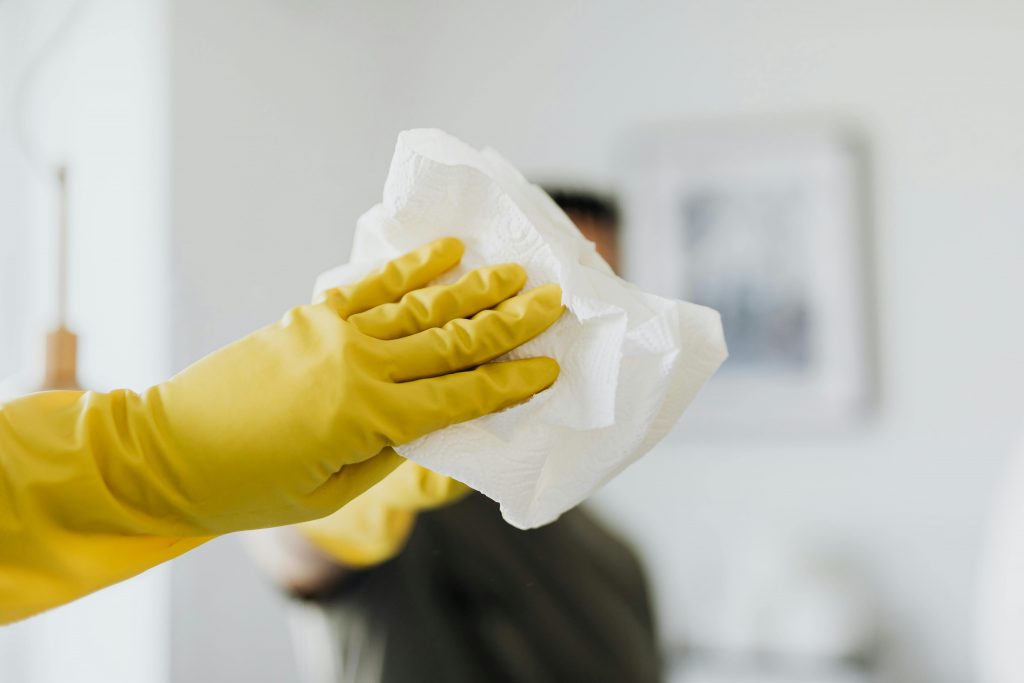
- Rubber gloves to protect your hands
- Drop cloths or plastic sheets to protect floors and furniture
- Painter’s tape to protect trim
Tip: Always test a small wall section with your cleaning solution to ensure it won’t damage the paint or wall surface.
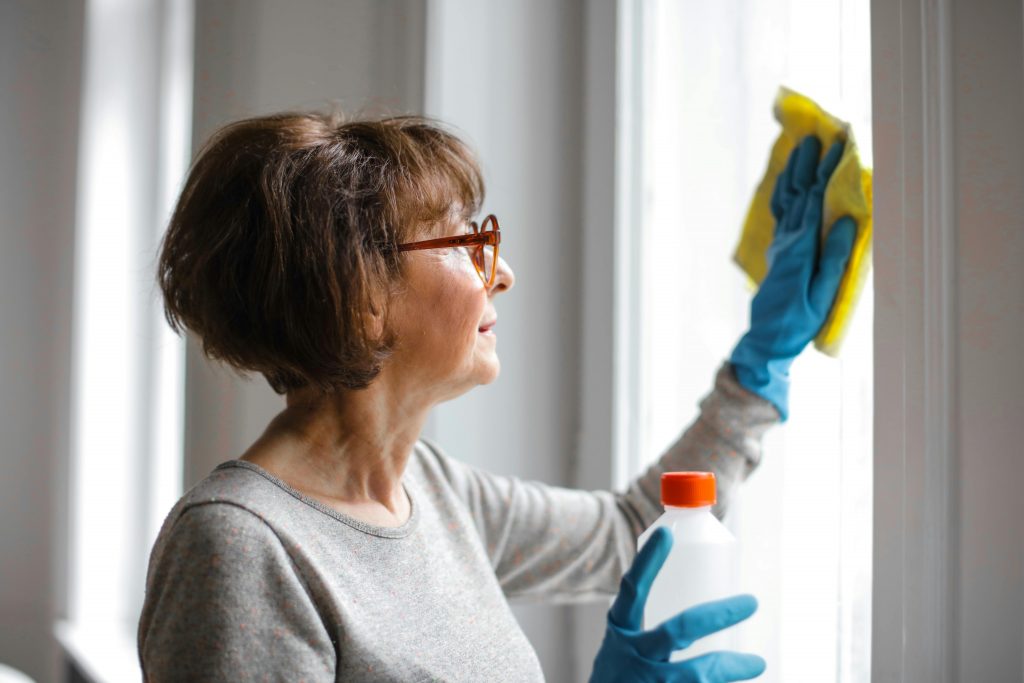
Remove Dust and Cobwebs
Before using any liquid cleaner, start with dry cleaning.
Steps:
- Use a microfiber cloth, broom, or vacuum with brush attachment to remove dust from walls and corners.
- Don’t forget ceilings, light fixtures, and baseboards.
- Remove cobwebs from corners or behind furniture.
Pro Tip: This simple step reduces the risk of grime mixing with water, which can create streaks during wet cleaning.
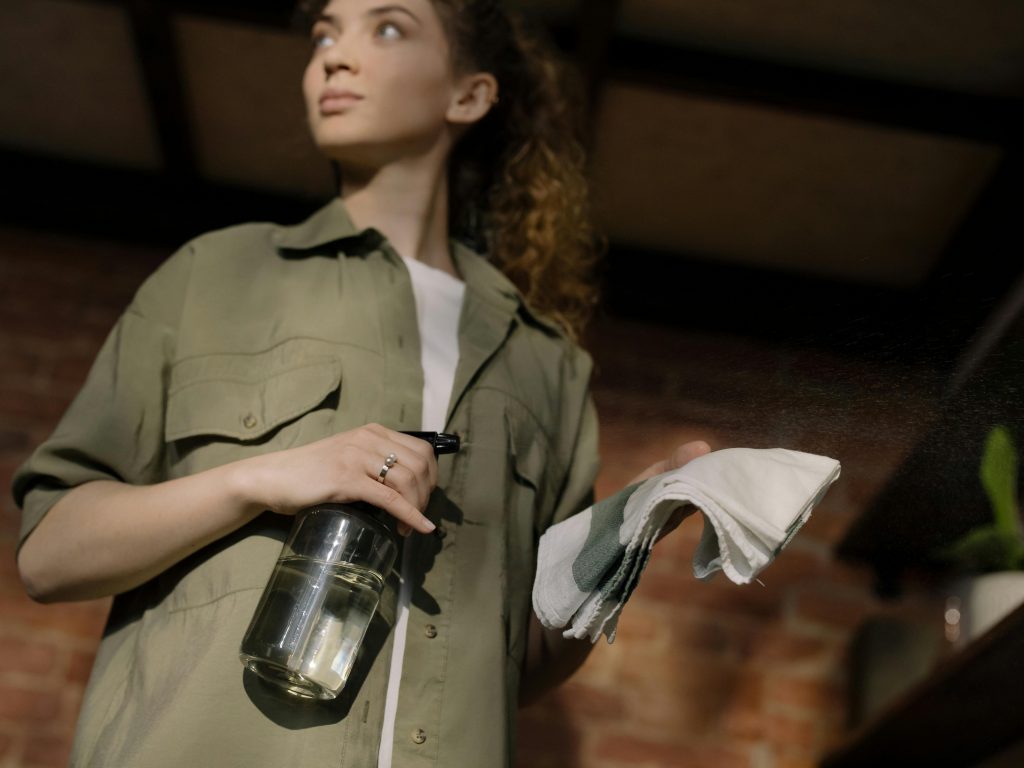
Clean Grease and Stains
Kitchens, hallways, and high-traffic areas often accumulate grease, fingerprints, and scuff marks.
Cleaning Method:
- Mix warm water with a few drops of mild dish soap in a bucket.
- Use a soft sponge to gently scrub greasy spots and stains.
- For tougher areas, use TSP or a wall cleaner following the manufacturer’s instructions.
- Rinse with clean water and a separate sponge to remove soap residue.
Common Stubborn Stains:
- Crayon or Marker: Use baking soda paste or a magic eraser.
- Smoke or Nicotine Stains: TSP solution is highly effective.
- Scuff Marks: Gentle scrubbing with a sponge or soft cloth usually works.
Pro Tip: Avoid soaking walls—excess water can damage drywall or plaster. Work in small sections and dry immediately.
Repair and Patch Walls
Cleaning also helps reveal damage that may need repair before painting.
Steps:
- Check walls for holes, cracks, or dents.
- Fill small holes or dents with spackling compound.
- Use joint compound for larger cracks or damaged areas.
- Sand repaired areas smooth once dry.
- Wipe away dust with a microfiber cloth before painting.
Pro Tip: Repairing walls before painting ensures an even surface and professional-looking results.
Special Considerations for Different Wall Types
Not all walls are created equal. Different surfaces require tailored cleaning techniques to avoid damage and ensure paint adheres properly. Understanding your wall type helps you clean effectively without compromising the material.
Drywall Walls
- Use Gentle Soap and Water: Mild dish soap mixed with warm water is usually sufficient.
- Avoid Excessive Scrubbing: Too much pressure can damage the paper surface of drywall, creating dents or rough spots.
- Rinse and Dry Thoroughly: After cleaning, wipe with a damp cloth to remove soap residue and dry with a microfiber towel.
- Tip: Drywall in kitchens or near vents may have grease buildup—consider using a mild degreaser or trisodium phosphate (TSP) for stubborn spots.
Plaster Walls
- Use Minimal Water: Plaster can soften or crack if exposed to too much moisture.
- Clean with a Damp Sponge: Lightly wipe the surface instead of soaking it.
- Avoid Harsh Chemicals: Abrasive cleaners can scratch or damage plaster finishes.
- Tip: Work in small sections and dry each area immediately to prevent water from seeping into cracks.
Wood Paneling
- Use Wood Cleaner or Mild Soap Solution: Avoid harsh chemicals that can strip the finish.
- Dry Immediately: Moisture can cause wood to warp, swell, or discolor.
- Polish if Needed: After cleaning, consider applying a wood polish or conditioner to restore shine and protect the surface.
- Tip: For older or antique wood panels, test a small area first to ensure cleaning won’t remove the finish.
Wallpapered Walls
- Dust First: Use a soft cloth, microfiber duster, or vacuum with a brush attachment.
- Test Before Wet Cleaning: Use a damp sponge on a small, hidden section to check that the paper won’t peel or discolor.
- Avoid Excessive Moisture: Too much water can cause the wallpaper to bubble or warp.
- Tip: For textured or vinyl wallpaper, use a gentle cleaner suitable for the material and wipe dry immediately.
Pro Tip: Always identify your wall type before starting any cleaning. The right approach prevents accidental damage and ensures a smooth surface for painting.
Safety Tips During Wall Cleaning
Cleaning walls may seem simple, but it often involves water, detergents, or chemical solutions. Taking proper safety precautions protects your health, prevents damage to your home, and makes the process smoother.
- Wear Protective Gloves
- Gloves protect your hands from harsh chemicals, detergents, and prolonged water exposure.
- Nitrile or rubber gloves are ideal as they resist most cleaning solutions.
- Tip: If using stronger cleaners like trisodium phosphate (TSP), double up gloves to prevent irritation.
- Ensure Proper Ventilation
- Open windows and doors to allow fresh air to circulate.
- Use fans to help disperse fumes from chemicals, especially in small or enclosed rooms.
- Tip: Poor ventilation can lead to headaches or dizziness when using cleaning agents.
- Protect Floors and Furniture
- Lay down drop cloths or plastic sheets to catch drips, spills, or splashes.
- Move small furniture out of the room, or cover with waterproof sheeting.
- Tip: For hardwood or carpeted floors, adding a layer of cardboard under the cloth can prevent accidental water damage.
- Keep Children and Pets Safe
- Cleaning solutions and water spills can be hazardous if ingested or slipped on.
- Consider keeping kids and pets out of the room entirely during cleaning.
- Tip: If working in a shared space, schedule cleaning when the household is less active.
- Use Safe Cleaning Practices
- Always follow manufacturer instructions on cleaning solutions.
- Test a small, hidden area before applying any chemical to the entire wall.
- Avoid mixing cleaning agents, as this can create harmful fumes.
Pro Tip: Safety precautions may seem time-consuming, but they prevent injuries, protect surfaces, and make wall cleaning faster and less stressful. Taking a few extra steps ensures your prep work is both effective and safe.
Step-by-Step Wall Cleaning Process
For a systematic approach, follow these steps:
- Clear the Room: Move furniture away from walls or cover with drop cloths.
- Dry Dusting: Remove dust, cobwebs, and loose debris.
- Spot Cleaning: Target grease, fingerprints, and stains with mild soap or TSP.
- Rinse: Wipe walls with clean water to remove soap or cleaning solution.
- Dry: Use microfiber towels to ensure walls are completely dry.
- Inspect: Check for cracks, holes, or peeling paint that need repair.
- Repair: Patch and sand damaged areas, then wipe away dust again.
Pro Tip: Taking your time during cleaning ensures a professional and long-lasting paint finish.
Additional Tips for a Flawless Paint Job
- Prime the Walls: Even after cleaning, priming helps paint adhere better and improves coverage.
- Remove Outlet Covers and Switch Plates: Painting around these is easier when removed.
- Use Painter’s Tape: Protect baseboards, ceilings, and trim for a neat finish.
- Work in Small Sections: Clean and paint section by section for consistency.
- Ventilate During Painting: Open windows to reduce fumes and speed drying.
Pro Tip: Proper preparation, including cleaning, priming, and taping, makes painting faster and reduces touch-ups.
Conclusion
Cleaning walls before painting is a critical step that ensures your paint job looks smooth, lasts longer, and adheres properly. By removing dust, grease, and stains, repairing damage, and following proper techniques for different wall types, you’ll achieve a professional-quality finish. Whether you’re refreshing a single room or tackling an entire home, taking the time to clean and prepare walls makes a noticeable difference in the final result.