Highlights:
- Squeaks come from friction, not damage — they happen when two building materials rub against each other, so most cases aren’t a structural problem, just a mechanical one.
- Finding the exact source of the noise matters more than the fix itself — mark every squeaky spot before you touch a tool, since guessing leads to wasted holes and screws.
- Working from below (in a basement or crawl space) is usually the cleanest approach, since it lets you shim gaps or secure the subfloor without damaging finished flooring.
- Hardwood and carpeted floors need different repair methods — hardwood can often be fixed with shims, glue, or a well-placed finish nail, while carpet typically requires a specialty screw kit that snaps off below the surface.
- Powdered graphite or talcum powder can silence minor board-on-board friction without any drilling at all.
- Widespread squeaks, sagging, bouncing, or signs of water damage or rot are signals to call in a professional rather than DIY the repair.
- Keeping indoor humidity stable and addressing small squeaks early are the best ways to prevent them from coming back.
That creak under your foot in the hallway at 2 a.m. is more than just annoying, it is your house telling you something has shifted. Squeaky floors are one of the most common complaints homeowners have, and the good news is that most of them are fixable without tearing up your entire floor. The trick is not just knowing how to silence a squeak, but knowing how to find exactly where it is coming from. Once you pinpoint the source, the fix itself is usually simple, cheap, and something you can knock out in an afternoon.
This guide walks you through why floors squeak, how to track down the noise like a detective, and the best methods to fix it depending on your flooring type and access to the space underneath.
Why Floors Squeak in the First Place

Squeaks happen because two pieces of building material are rubbing against each other where they should not be. Over time, wood shrinks, swells, and shifts with changes in humidity and temperature, and this constant movement loosens the connections that once held everything tight. A few of the usual suspects include:
- Floorboards rubbing against each other due to gaps that have widened over time
- Subfloor panels rubbing against floor joists because nails have backed out
- Loose or missing fasteners that no longer hold boards firmly in place
- Wood that has dried out and shrunk, creating small gaps where none used to exist
- Squeaky floors are also common home repairs during a renovation, since old subfloors and joists are frequently exposed and adjusted, which can either fix existing squeaks or accidentally create new ones
Understanding that squeaks come from friction, not from a floor being “broken,” helps set the right expectations. In most cases you are not looking at a structural problem, just a mechanical one that needs a little attention.
Tools You’ll Need Before You Start
You do not need a full workshop to fix a squeaky floor, but having the right tools on hand will save you multiple trips back and forth. Gather these before you begin your search:
- A flashlight or headlamp for checking under the floor
- A notepad, painter’s tape, or sticky notes to mark squeak locations
- A stud finder to locate joists beneath subfloor or drywall
- A hammer and finish nails, or a cordless drill with wood screws
- A pry bar for lifting boards if needed
- Wood shims and carpenter’s glue for gaps between boards and joists
- A squeak-repair kit if you are working with carpeted floors, since these often include specialty screws designed to snap off below the surface
Having everything laid out ahead of time means once you find the noisy spot, you can fix it right away instead of losing your place while you go hunting for a screwdriver.
How to Locate the Squeak From Above
Finding the squeak is honestly the most important part of this whole process, because guessing and randomly driving screws into your floor can cause more harm than good. Start by walking slowly across the area where the noise happens, applying your body weight evenly with each step.
- Walk heel to toe, pausing at each spot to feel and listen for movement or sound
- Have a second person walk while you kneel down and listen closely, or do this solo by walking and immediately marking the spot
- Use painter’s tape to mark every squeaky spot you find, even small ones
- Pay attention to whether the squeak happens with weight going down or coming back up, since this can hint at whether the issue is above or below the subfloor
- Check for soft or bouncy spots as you go, since these can indicate a deeper structural issue rather than a simple squeak
Once you have marked several spots, look for patterns. Squeaks that run in a straight line often follow a seam between two boards or panels, while squeaks clustered in one small area usually point to a single loose fastener or shifted joist.
How to Locate the Squeak From Below
If you have access to a basement or crawl space underneath the squeaky area, you are in luck, because this is often the easiest and least invasive way to both find and fix the problem. Grab your flashlight and head down while someone else walks across the floor above.
- Look up at the underside of the subfloor while the other person walks the marked spots
- Watch for any visible movement in the wood as weight is applied
- Look for gaps between the subfloor and the joists, which are a very common cause of squeaks
- Check for nails that have backed out slightly and are no longer flush with the wood
- Note any joists that appear warped, twisted, or not making full contact with the subfloor
Working from below is ideal because you can fix most squeaks without damaging your finished flooring at all. If your home does not have this kind of access, do not worry, there are still plenty of ways to fix things from above.
Fixing Squeaks in Hardwood Floors
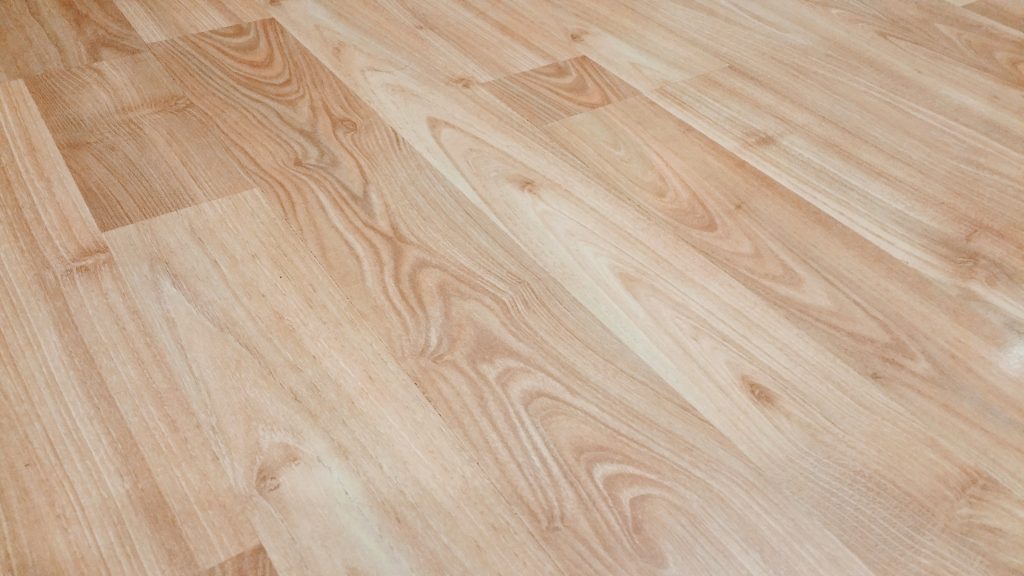
Hardwood floors squeak when boards rub against each other or against the subfloor beneath them. The fix depends on whether you can access the area from below or need to work from the top.
If you have access from below:
- Locate the joist nearest to the squeak using your stud finder or by sight
- Cut a shim to fit snugly into any gap between the subfloor and the joist
- Add a small amount of carpenter’s glue to the shim before inserting it
- Avoid forcing the shim in too hard, since this can actually lift the floor and create a new squeak elsewhere
If you can only work from above:
- Locate the floor joist beneath the squeaky board using a stud finder
- Drill a pilot hole at a slight angle through the board and into the joist to avoid splitting the wood
- Drive a finish nail or trim head screw through the pilot hole, then set the nail head slightly below the surface
- Fill the small hole with matching wood filler or a color-matched putty stick so the repair blends in
For squeaks caused by two boards rubbing against each other rather than the subfloor, a bit of powdered graphite or talcum powder worked into the seam between the boards can reduce friction significantly without any drilling at all.
Fixing Squeaks in Carpeted Floors
Carpeted floors present a bit more of a challenge since you cannot always see exactly where the boards or subfloor meet. Thankfully, there are tools made specifically for this situation.
- Use a squeak-repair kit, which typically includes a specialty screw and a jig that guides it precisely through the carpet and into the joist below
- Locate the joist first using a stud finder, since these kits work best when the screw catches solid wood
- Insert the guide provided in the kit through the carpet fibers without cutting or damaging them
- Drive the screw down until it engages the joist, then snap off the head below the carpet surface as instructed
- Repeat at each marked squeak location, spacing screws about every six inches along a seam if the noise runs in a line rather than staying in one spot
This method is popular because it requires no removal of carpet or trim, and once finished, there is no visible sign a repair was ever made.
Fixing Squeaks From Below the Subfloor
When you have crawl space or basement access, working from underneath is often the cleanest solution because it avoids putting any holes or fasteners through your finished floor. This approach works well for both hardwood and carpeted floors above.
- For gaps between the subfloor and joist, insert a shim coated in wood glue, tapping it gently until snug
- For loose subfloor panels, drive a construction screw up through the joist into the subfloor, being careful not to let the screw poke through the top surface
- For squeaks caused by a joist that has slightly separated from the subfloor over a longer span, consider adding a cleat, which is a short block of wood screwed to the side of the joist and up into the subfloor to add extra support
- For minor movement, a bead of construction adhesive run along the top of the joist, followed by screwing the subfloor down snug, can eliminate the squeak permanently
Working from below takes a bit more crawling around, but it tends to produce longer-lasting results since you are addressing the actual connection between structural layers rather than just masking the symptom from above.
When to Call a Professional
Most squeaky floor repairs are well within reach for an average homeowner with a free Saturday afternoon, but there are times when it makes sense to bring in a professional instead.
- If squeaks are widespread across your entire home rather than isolated to a few spots
- If you notice sagging, bouncing, or visibly uneven flooring alongside the noise
- If you find signs of water damage, rot, or pest activity near the joists or subfloor
- If your home has engineered flooring with a complex multi-layer structure that is easy to damage with the wrong repair method
- If you are already mid-renovation and squeaky floors are just one item on a much longer punch list
A contractor or flooring specialist can also help determine whether a squeak is purely cosmetic or a sign of a larger structural issue that needs to be addressed before it becomes expensive.
Tips to Prevent Squeaks From Coming Back
Once you have fixed the noise, a few habits and maintenance steps can help keep your floors quiet for years to come.
- Keep indoor humidity consistent, ideally between 35 and 55 percent, to reduce the wood expansion and contraction that loosens fasteners over time
- Address minor squeaks as soon as you notice them, since small gaps tend to widen and worsen the longer they are left alone
- Inspect crawl spaces and basements periodically for signs of new gaps or movement, especially after seasonal temperature swings
- Use felt pads under heavy furniture to reduce excess pressure on specific floor sections
- When replacing flooring or subfloor materials, make sure boards are properly acclimated to your home’s humidity before installation, since skipping this step is a common cause of squeaks appearing shortly after a remodel
A little routine attention goes a long way toward keeping your floors solid, quiet, and comfortable underfoot.
Final Thoughts
Squeaky floors might seem like a minor annoyance, but tracking down the exact source of the noise is what separates a lasting fix from a temporary patch. Whether you are working from above with a hardwood floor, using a specialty kit on carpet, or crawling underneath to shim a joist, the process always starts with the same step: locating precisely where the sound is coming from. Take your time marking the spots, choose the repair method that matches your access and flooring type, and you will likely have a silent, solid floor again before the day is done.